Welcome to Worldia, we have over 25 years of expertise.

10 Graphite Machining Tips for Better Results

Graphite machining rewards careful setup more than brute force. The material is brittle, naturally abrasive, and prone to shedding fine dust during cutting. A sharp tool, steady workholding, and suitable dust extraction can make a clear difference. Small changes in tool geometry or feed rate may affect edge quality, tool wear, and cycle time. There is no single setting that suits every graphite grade, machine, and part shape.

This guide outlines ten practical ways to improve results, from selecting cutters and planning toolpaths to controlling dust and checking finished features. It also considers details that are easy to overlook: fragile corners, thin walls, chip evacuation, and the condition of cutting edges. Measure critical dimensions with appropriate instruments, and compare results across test cuts before committing to a full run. Keep the machine maker’s guidance and the graphite supplier’s recommendations in view. A clean surface is useful, but it does not prove that a part meets its dimensional requirements. Some advice may need adjustment for your setup. That is worth acknowledging. Good Graphite Machining depends on observation, consistent checks, and a willingness to revise settings when the evidence points elsewhere.
10 Graphite Machining Tips for Better Results

Understanding Graphite Properties Before Machining

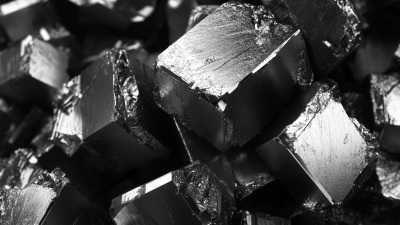
Graphite is not one uniform material. Its grain size, porosity, binder, and forming direction can vary between grades, changing how it cuts. The material is brittle, so unsupported edges may chip even when the tool feels sharp. Fine graphite dust can also be electrically conductive. Keep it away from exposed electronics and use suitable dust extraction.

Tip: Check the grade’s data sheet before setting feeds or speeds. Use a sharp tool and support thin sections close to the cut. A small test piece can reveal edge breakout before you machine an expensive component.

Watch the surface as you work. Powdery residue, rough edges, or unexpected tool wear may signal that the setup needs adjustment. Graphite often machines without the same heat concerns as many metals, but that does not make every cutting condition safe or effective. Follow the machine and tooling guidance for dust control and tool choice. I would not assume that a familiar setting transfers cleanly between grades; sometimes the first pass teaches you more than the specification sheet.

Preparing the Workpiece, Tools, and Machine

Before cutting, inspect the graphite blank under bright side lighting. Hairline cracks can hide near corners. Mark the grain direction, then clamp the piece with broad, even support; concentrated pressure can chip its edges. Leave a small finishing allowance, especially on thin ribs. USGS’s Mineral Commodity Summaries 2024 estimated global natural graphite mine production at 1.6 million metric tons in 2023. That scale does not make grades interchangeable: porosity and grain structure can vary, so test a small area when the material changes.

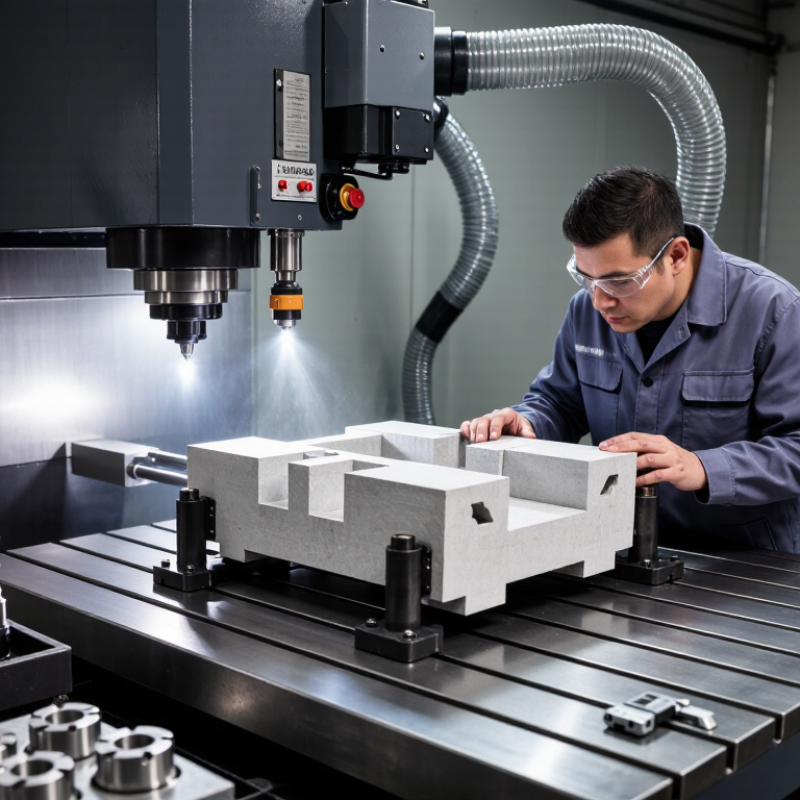
Prepare a clean, rigid machine with low spindle runout and secure workholding. Graphite is brittle, so a sharp carbide or diamond tool and a steady feed usually produce cleaner edges than a rubbing cut. Check tool clearance around deep pockets, where chips can collect. A perfect setup on paper still needs a test cut. Watch for vibration, fuzzy edges, and unexpected tool wear; adjust one setting at a time.

Control dust before machining. Use local extraction and a suitable fine-particle filter, and avoid blowing dust across the machine with compressed air. NIOSH’s Pocket Guide lists a recommended time-weighted exposure limit of 2.5 mg/m³ for respirable synthetic graphite dust. Keep dust away from electrical enclosures, then check extraction flow and seals before each run. It is easy to miss a loose hose.

Choosing Cutting Speeds, Feeds, and Toolpaths

Graphite is abrasive, so cutting data should protect both the tool edge and the machine. Start with the graphite grade, cutter diameter, flute count, and the machine’s rigidity; a speed that works on one setup may chatter on another. Use the tool maker’s figures as a starting point, then adjust in small steps. Test cuts matter.

Feed rate must keep the cutter cutting rather than rubbing. If feed is too low, heat and edge wear can rise; if it is too high, thin walls may chip or vibrate. Listen for a steady sound and inspect the machined surface under good light. A dusty, fuzzy edge can point to a worn tool or unsuitable feed. It is not a perfect diagnosis, though.

Choose toolpaths that manage load and support fragile features. A smooth, continuous path is often gentler than repeated sharp direction changes. For pockets, clear material in controlled passes instead of forcing a full-width cut, especially near thin ribs. Leave a small finishing allowance, then take a light final pass to improve edge quality. Keep dust extraction close to the cutting zone, and check that chips are not collecting in corners. Watch the edges. If a part still breaks, revisit its geometry and clamping, not just the feed setting.

10 Graphite Machining Tips for Better Results — Choosing Cutting Speeds, Feeds, and Toolpaths

Use feed per tooth as a practical starting point when selecting feeds for graphite milling. The bars show the midpoint of each indicative range.

How to apply: Suggested starting ranges are roughing 0.08–0.15 mm/tooth, semi-finishing 0.05–0.10 mm/tooth, and finishing 0.02–0.06 mm/tooth. Adjust for tool diameter, flute count, graphite grade, machine rigidity, and tool condition. Calculate cutting speed from tool diameter and spindle speed, and use smooth entries and steady-engagement toolpaths. Extract graphite dust effectively. Confirm settings with your tool and machine guidance.

Controlling Graphite Dust and Preventing Tool Wear

Tip: Capture dust at the cut. Graphite dust is fine and can spread across machine ways, switches, and nearby work surfaces. Use local extraction close to the cutting zone, with filtration suited to fine particulate. Keep the enclosure closed where practical. It travels far. Avoid blowing dust around with compressed air; that often moves it into places that are harder to clean. Remove buildup with an appropriate vacuum and follow the machine and vacuum manufacturers’ cleaning guidance.

Tip: Reduce tool wear with steady cutting conditions. Use sharp tooling suited to graphite, and check the edge regularly for chipping or dullness. A worn edge can leave fuzzy surfaces and increase heat. Keep feeds, speeds, and depth of cut consistent with the graphite grade and tool recommendations. There is no universal setting. Make a small test cut when changing material, then inspect both the finish and the tool.

Tip: Keep dust control part of setup, not cleanup. Check extraction flow before machining, and clear settled dust from fixtures and workholding between jobs. Fine particles may collect beneath a vise or around a spindle. A common oversight is cleaning only visible surfaces. Even careful routines miss corners sometimes, so inspect the enclosure after the first few runs and adjust the collection position if dust escapes.

Inspecting Finished Parts and Refining the Process

Inspect graphite parts only after removing loose dust; a thin coating can hide a chipped edge or smear a surface mark. Check critical dimensions with calibrated instruments, and record flatness, hole position, edge condition, and visible cracks against drawing tolerances. Graphite can chip where a drill exits, so examine both sides under angled light. Small chips matter.

Refine the process using inspection records, not memory. Track measurements by tool, batch, and machining conditions, then look for drift before parts fall outside tolerance. The NIST/SEMATECH e-Handbook of Statistical Methods notes that three-sigma control limits produce about 0.27% false alarms for normally distributed, stable data. That is a useful warning: one unusual reading may be noise, but a steady shift deserves attention. Keep the evidence.

USGS Mineral Commodity Summaries 2024 estimated global natural graphite mine production at 1.6 million metric tons in 2023. That supply figure says little about the consistency of a particular machined blank; grades and batches can behave differently. Compare chipped edges and dimensional changes with tool wear, feed settings, and cleaning records before adjusting the process. I would not treat every defect as a cutting problem. Sometimes the inspection method needs refinement too.

Hi! What is your idea today?
WORLDIA 8618618272087
Nina +86 15631662072
google-site-verification=0STkOZEvYuoDp-D40AVfMUk--CzM2AsZv24S6ISPdmk